
Outdated Documentation
You're viewing documentation for version v1.0.4. This version may contain outdated information.
Quickstart
Welcome to plakar - easy, secure and efficient backups for people who value their time and data. The aim of this quick guide is to get you up and running with plakar and create your first backup within minutes. Let’s get started!
What you will need
- an internet connection
- a Linux, MacOS, FreeBSD or OpenBSD machine to run the software
- admin access to install
- sufficient local storage to store your backups
- a web browser (for logging in and using the UI)
Install plakar
For a Debian-based OS (e.g. Ubuntu, Debian) the easiest way is to use our apt repository.
First, install necessary dependencies and add the repository’s GPG key:
apt-get update
apt-get install -y curl sudo gnupg2
curl -fsSL https://packages.plakar.io/keys/plakar.gpg | sudo gpg --dearmor -o /usr/share/keyrings/plakar.gpg
echo "deb [signed-by=/usr/share/keyrings/plakar.gpg] https://packages.plakar.io/deb stable main" | sudo tee /etc/apt/sources.list.d/plakar.list
Then update the package list and install plakar:
sudo apt-get update
sudo apt-get install plakar
For an OS which uses RPM-based packages (eg. Fedora), the easiest way is to use our dnf repository.
First, setup the repository:
cat <<EOF | sudo tee /etc/yum.repos.d/plakar.repo
[plakar]
name=Plakar Repository
baseurl=https://packages.plakar.io/rpm/$(uname -m)/
enabled=1
gpgcheck=0
gpgkey=https://packages.plakar.io/keys/plakar.gpg
EOF
Then install plakar with:
sudo dnf install plakar
The simplest way to install Plakar on macOS is with Homebrew.
Ensure you have Homebrew installed, then add the Plakar tap and install Plakar with:
brew install plakarkorp/tap/plakar
If you prefer not to use our tap, you can install from the default Homebrew repository instead with brew install plakar. Note that the version in the default repository may not always be the latest release.
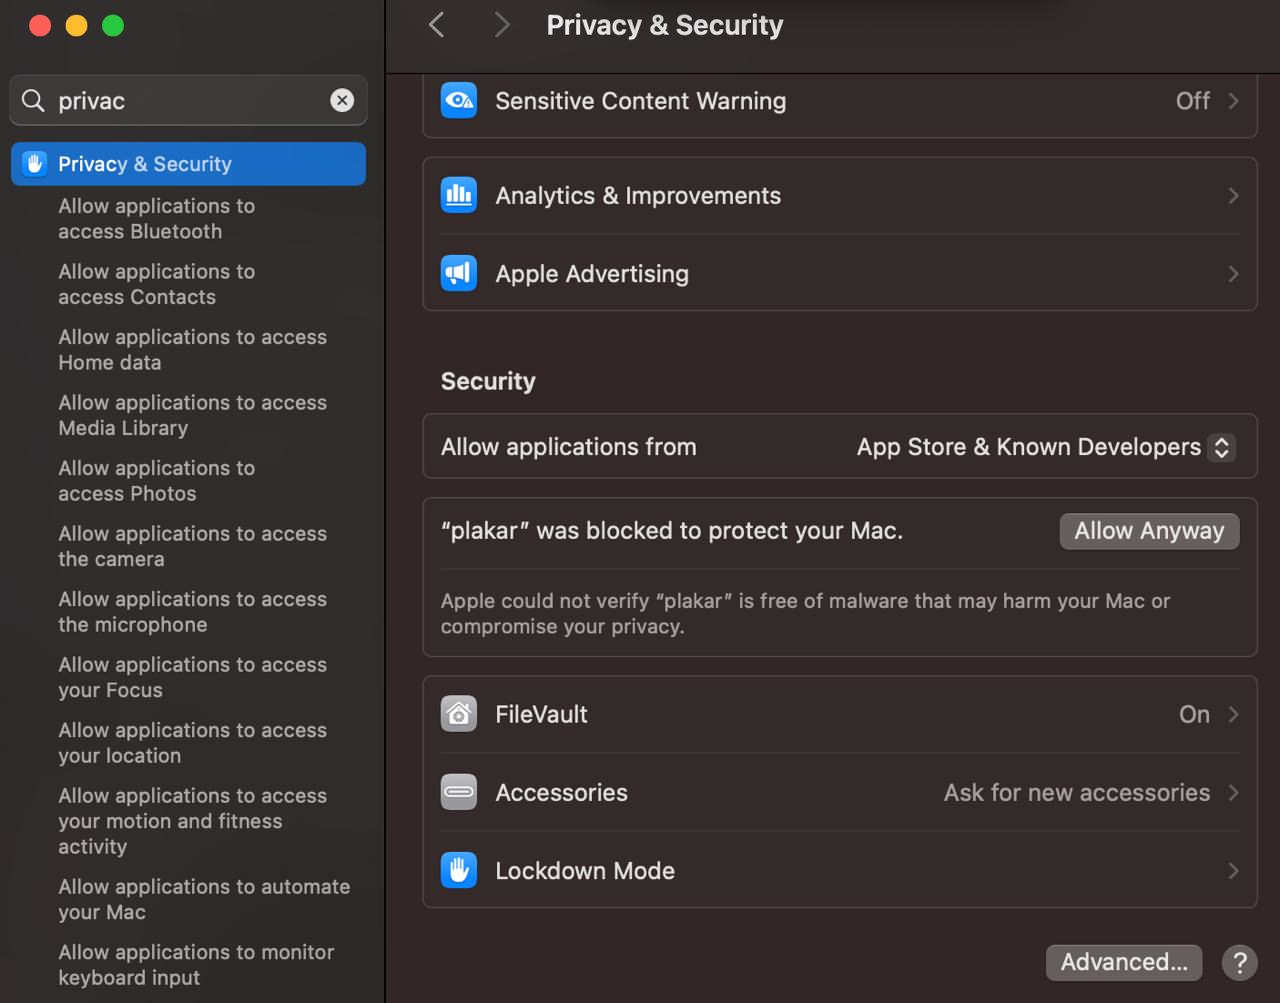
MacOS has some built-in protection from malware. To enable the binary to be run, you will need
to explicitly allow it from the Privacy & Security settings.
To install using the Go toolchain, use ‘go install’ with the version you want to install:
$ go install github.com/PlakarKorp/plakar@v1.0.4
This will install the binary into your $GOPATH/bin directory, which you may need to add to your $PATH if it is not already there.
Verify the installation by running:
plakar version
This should return the expected version number, for example ‘plakar/v1.0.4’.
Create a Kloset store
Before we can backup any data, we need to define where the backup will go. In plakar terms, this storage location is called a ‘Kloset Store’. You can find out more about the concept and rationale behind Kloset in this post on our blog.
For our first backup, we will create a local Kloset on the filesystem of the host OS. In a real backup scenario you would want to create a backup on a different physical device, so substitute in a better location if you have one.
In the CLI enter the following command:
$ plakar at $HOME/backups create
plakar will then ask you to enter a passphrase, and repeat it to confirm.
 Your passphrase is important!
Be extra careful when choosing the passphrase: People with access to the repository and knowledge of the passphrase can read your backups.
By default plakar will enforce rules on your choice of passphrase to make sure it is complex enough to be secure. To add complexity, use a mixture of upper and lower case characters and symbols.
DO NOT LOSE OR FORGET THE PASSPHRASE: it is not stored anywhere and can not be recovered in case of loss. A lost passphrase means the data within the repository can no longer be accessed or recovered.
Create your first backup
Now we have created the Kloset where data will be stored we can use it to create our first backup. plakar uses the ‘at’ keyword to specify where a command is to take place.
To create a simple example backup, try running:
plakar at $HOME/backups backup /private/etc
plakar will process the files it finds at that location and pass them to the Kloset where they will be chunked and encrypted.
The output will indicate the progress:
9abc3294: OK ✓ /private/etc/ftpusers
9abc3294: OK ✓ /private/etc/asl/com.apple.iokit.power
9abc3294: OK ✓ /private/etc/pam.d/screensaver_new_ctk
[...]
9abc3294: OK ✓ /private/etc/apache2
9abc3294: OK ✓ /private/etc
9abc3294: OK ✓ /private
9abc3294: OK ✓ /
backup: created unsigned snapshot 9abc3294 of size 3.1 MB in 72.55875ms
The output lists the short form of the snapshot’s id number. This is used to identify a particular snapshot and is also how you identify the snapshot to use for various plakar commands.
 Command help
Learning new tools can be confusing. To make things easier, plakar includes built-in help for all commands. Just use plakar help and then the command you need help with for a full list of options and examples. For example, if you forget what the options are for restoring files from a snapshot: plakar help restore
You can verify that the backup exists:
$ plakar at $HOME/backups ls
…will return the known backups in that Kloset:
2025-09-02T15:38:16Z 9abc3294 3.1 MB 0s /private/etc
The output lists the datestamp of the last backup, the short UUID, the size of files backed-up, the time it took to create the backup and the source path of the backup.
Verify the integrity of the contents:
$ plakar at $HOME/backups check 9abc3294
9abc3294: ✓ /private/etc/afpovertcp.cfg
9abc3294: ✓ /private/etc/apache2/extra/httpd-autoindex.conf
9abc3294: ✓ /private/etc/apache2/extra/httpd-dav.conf
[...]
9abc3294: ✓ /private/etc/xtab
9abc3294: ✓ /private/etc/zshrc
9abc3294: ✓ /private/etc/zshrc_Apple_Terminal
9abc3294: ✓ /private/etc
check: verification of 9abc3294:/private/etc completed successfully
And restore it to a local directory:
$ plakar at $HOME/backups restore -to /tmp/restore 9abc3294
In this case we are restoring to temporary storage as it is just a test. The output will list the restored files as it creates them:
9abc3294: OK ✓ /private/etc/afpovertcp.cfg
9abc3294: OK ✓ /private/etc/apache2/extra/httpd-autoindex.conf
9abc3294: OK ✓ /private/etc/apache2/extra/httpd-dav.conf
[...]
9abc3294: OK ✓ /private/etc/xtab
9abc3294: OK ✓ /private/etc/zprofile
9abc3294: OK ✓ /private/etc/zshrc
9abc3294: OK ✓ /private/etc/zshrc_Apple_Terminal
restore: restoration of 9abc3294:/private/etc at /tmp/restore completed successfully
To verify the files have been re-created, list the directory they were restored to:
$ ls -l /tmp/restore
This will list the restored file. Note that the properties of the restored files, such as the creation date, will be the same as the original files that were backed up:
total 1784
-rw-r--r--@  1 gilles  wheel     515 Feb 19 22:47 afpovertcp.cfg
drwxr-xr-x@  9 gilles  wheel     288 Feb 19 22:47 apache2
drwxr-xr-x@ 16 gilles  wheel     512 Feb 19 22:47 asl
[...]
-rw-r--r--@  1 gilles  wheel       0 Feb 19 22:47 xtab
-r--r--r--@  1 gilles  wheel     255 Feb 19 22:47 zprofile
-r--r--r--@  1 gilles  wheel    3094 Feb 19 22:47 zshrc
-rw-r--r--@  1 gilles  wheel    9335 Feb 19 22:47 zshrc_Apple_Terminal
Login
By default, plakar works without requiring you to create an account or log in. You can back up and restore your data with just a few commands, no external services involved.
However, logging in unlocks optional features that improve usability and monitoring, and by adding the ability to easily install pre-built integrations. In plakar, an integration is a package which supports an additional protocol as a source, destination or storage method (or all three), such as ftp, Google Cloud Storage or an s3 bucket.
Logging in is simple and needs only an email address or github account for authentication.
To log in using the CLI:
plakar login -email <youremailaddress@example.com>
Substitute in your own email address and follow the prompt. You can then check your email and follow the link sent from plakar.io.
To check that you are now logged in you can run:
plakar login -status
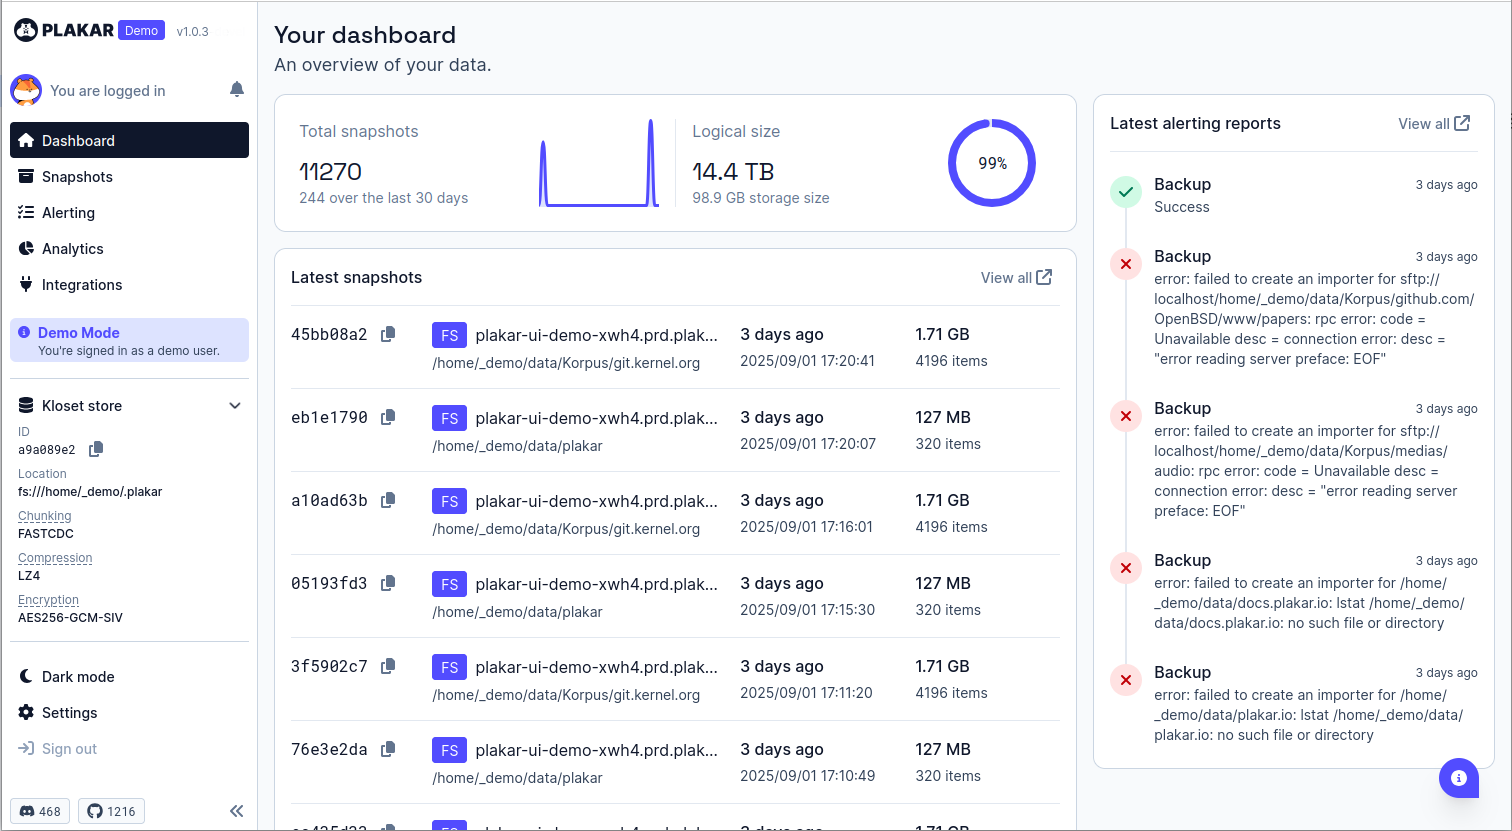
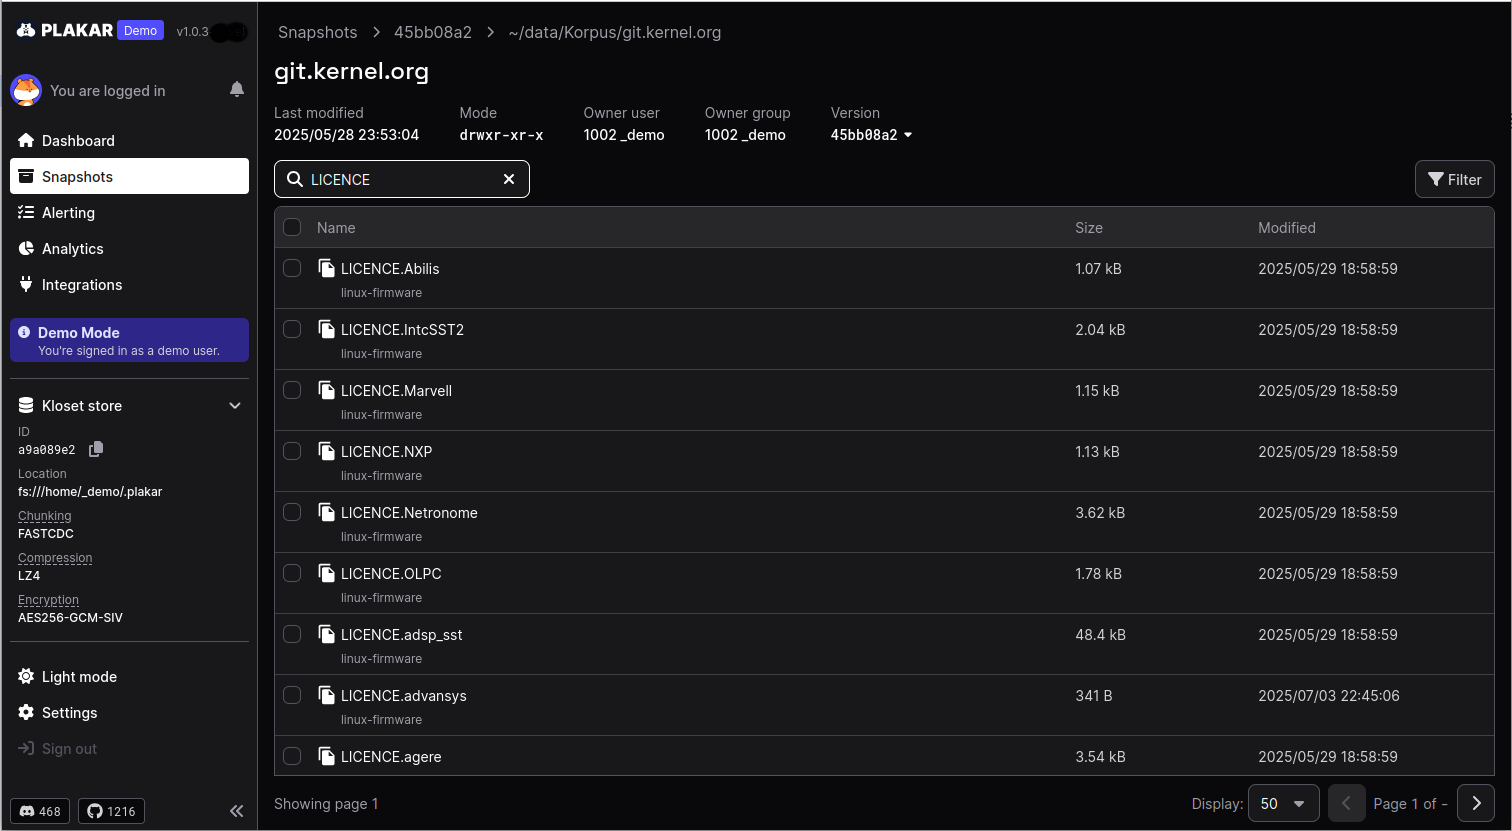
Access the UI
Plakar provides a web interface to view the backups and their content. To start the web interface, run:
$ plakar at $HOME/backups ui
Your default browser will open a new tab. You can navigate through the snapshots, search and view the files, and download them.
Congratulations!
You have successfully:
- installed plakar
- created a backup
- verified it
- restored files
- used the graphical UI
How long did it take? That’s how easy plakar is for simple, secure backups.
Next steps
There is plenty more to discover about plakar. Here are our suggestions on what to try next:
- Create a schedule for your backups
- Enable integrations and backup an S3 bucket
- Discover more about the plakar command syntax
Found a bug or mistake in the documentation? Create an issue on GitHub